centos7 编译安装php7.2并配置nginx支持多站点
下载php安装包,官网地址https://www.php.net/downloads
wget http://cn2.php.net/distributions/php-7.2.31.tar.gz
安装编译php需要的依赖包:
yum -y install libxml2 libxml2-devel openssl openssl-devel bzip2 bzip2-devel libcurl libcurl-devel \
libjpeg libjpeg-devel libpng libpng-devel freetype freetype-devel gmp gmp-devel libmcrypt libmcrypt-devel \
readline readline-devel libxslt libxslt-devel zlib zlib-devel glibc glibc-devel glib2 glib2-devel \
ncurses curl gdbm-devel db4-devel libXpm-devel libX11-devel gd-devel gmp-devel expat-devel \
xmlrpc-c xmlrpc-c-devel libicu-devel libmcrypt-devel libmemcached-devel libzip\
解压源码包
tar zxvf php-7.2.31.tar.gz
cd php-7.2.31

编译安装(./configure --help可查看编译参数)
./configure \
 --prefix=/usr/local/php\
 --enable-fpm\
 --with-fpm-user=www\
 --with-fpm-group=www\
 --with-config-file-path=/usr/local/php/conf\
 --disable-rpath\
 --enable-soap\
 --with-libxml-dir\
 --with-xmlrpc\
 --with-openssl\
 --with-mhash\
 --with-pcre-regex\
 --with-zlib\
 --enable-bcmath\
 --with-bz2\
 --enable-calendar\
 --with-curl\
 --enable-exif\
 --with-pcre-dir\
 --enable-ftp\
 --with-gd\
 --with-openssl-dir\
 --with-jpeg-dir\
 --with-png-dir\
 --with-zlib-dir\
 --with-freetype-dir\
 --enable-gd-jis-conv\
 --with-gettext\
 --with-gmp\
 --with-mhash\
 --enable-mbstring\
 --with-onig\
 --with-mysqli=mysqlnd\
 --with-pdo-mysql=mysqlnd\
 --with-zlib-dir\
 --with-readline\
 --enable-shmop\
 --enable-sockets\
 --enable-sysvmsg\
 --enable-sysvsem \
 --enable-sysvshm \
 --enable-wddx\
 --with-libxml-dir\
 --with-xsl\
 --enable-zip\
 --with-pear
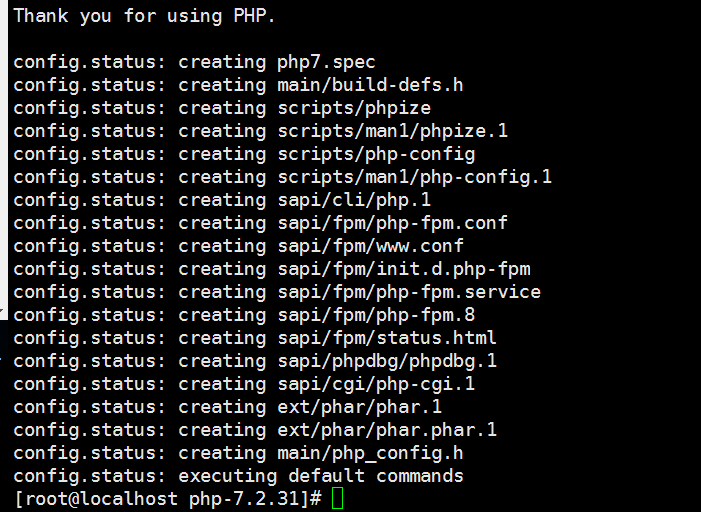
完成后,再进行编译及安装,执行 make && make install 即可安装。
执行完安装命令后php7就已经安装在到了/usr/local/php目录下了。
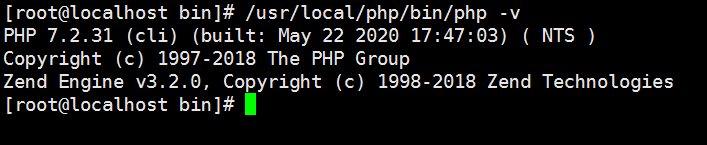
查看是否安装成功
/usr/local/php/bin/php -v
把php加入环境变量
vi /etc/profile
在最后加上
PATH=$PATH:/usr/local/php/bin
export PATH

:wq  //保存

source /etc/profile            //更新环境变量。

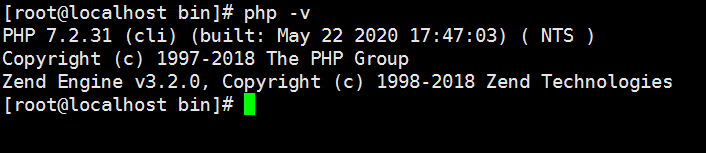
再次查看php版本
php -v
配置php-fpm
在安装包中有配置文件
 php.ini-development     测试开发环境
 php.ini-production         生产环境
 cp php.ini-production /usr/local/php/etc/php.ini

cp /usr/local/php/etc/php-fpm.conf.default /usr/local/php/etc/php-fpm.conf
cp /usr/local/php/etc/php-fpm.d/www.conf.default /usr/local/php/etc/php-fpm.d/www.conf
将php-fpm加入启动服务
在安装包下执行以下命令
cp sapi/fpm/php-fpm.service /usr/lib/systemd/system/php-fpm.service
添加启动用户
groupadd www
useradd -g www www
启动php-fpm
systemctl start php-fpm.service
用 systemctl status php-fpm.service 查看状态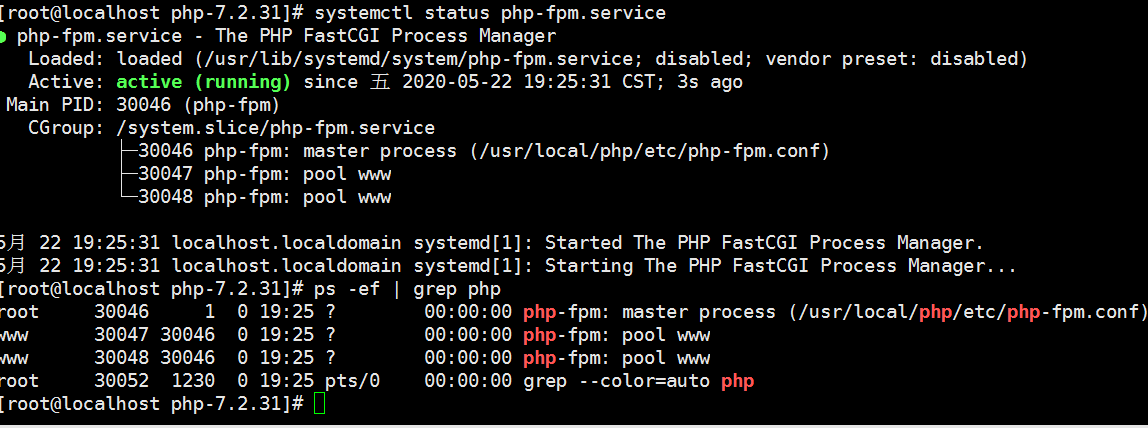
至此,php安装完成。
配置nginx支持php程序,nginx安装请异步http://www.it280.com/?id=6查看:
nginx配置php
vi /usr/local/nginx/conf/nginx.conf
把下面一段代码注释掉 变更改fastcgi_param配置
#location ~ \.php$ {
# root html;
# fastcgi_pass 127.0.0.1:9000;
# fastcgi_index index.php;
# fastcgi_param SCRIPT_FILENAME /scripts$fastcgi_script_name;
# include fastcgi_params;
#}
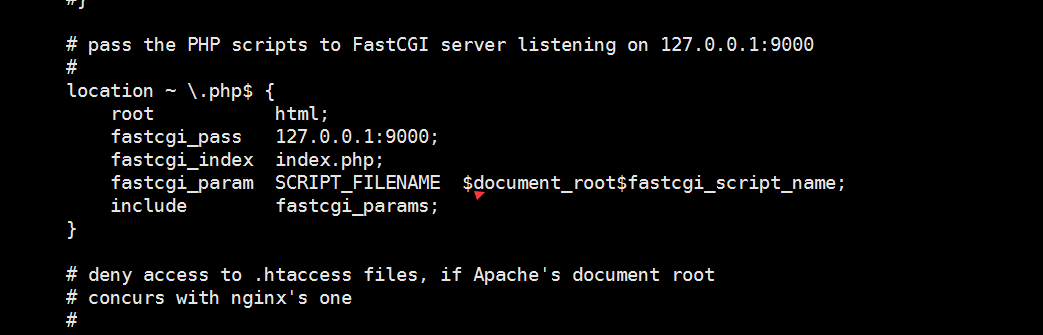
改为:
location ~ \.php$ {
root html;
fastcgi_pass 127.0.0.1:9000;
fastcgi_index index.php;
fastcgi_param SCRIPT_FILENAME $document_root$fastcgi_script_name;
include fastcgi_params;
}如下图:
保存后,重新启动nginx和php-fpm
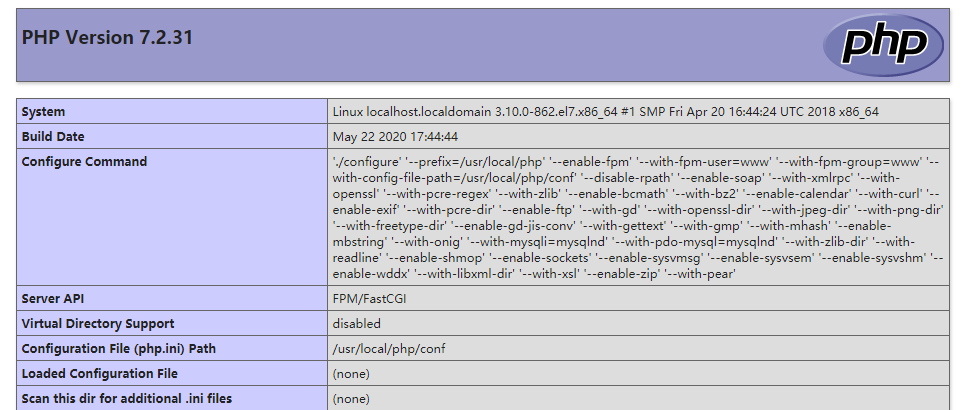
在/usr/local/nginx/html下新建一个php文件,
vi index.php


<?
phpinfo();
 ?>


 :wq    //保存
访问http://192.168.1.146/index.php,出现以下页面
由于一个网站可能放要多个站点,接下来配置nginx支持多网站配置:
cd /usr/local/nginx/conf
mkdir vhost
cd vhost
新建一个虚拟主机配置
vi mysite.conf
输入以下内容


server {
        listen       80;
        server_name  test.com;    //访问域名
        root   /usr/local/nginx/html/mysite;    //网站文件目录
        location / {
            index  index.html index.htm index.php;
            #autoindex  on;
        }
        location ~ \.php$ {
            fastcgi_pass   127.0.0.1:9000;
            fastcgi_index  index.php;
            fastcgi_param  SCRIPT_FILENAME  $document_root$fastcgi_script_name;
            include        fastcgi_params;
        }

}

保存,退出
:wq

vi /usr/local/nginx/nginx.conf

在http{}里面加入
include vhost/*.conf;
保存。重启nginx,访问test.com生效

 微信扫一扫,打赏作者吧~